I love my crosses and we have a few at home as it’s part of my religion, take a look at how I created my own crucifix using a mold and some air dry clay. It’s fun and easy to do, let’s get started!
Main Materials:
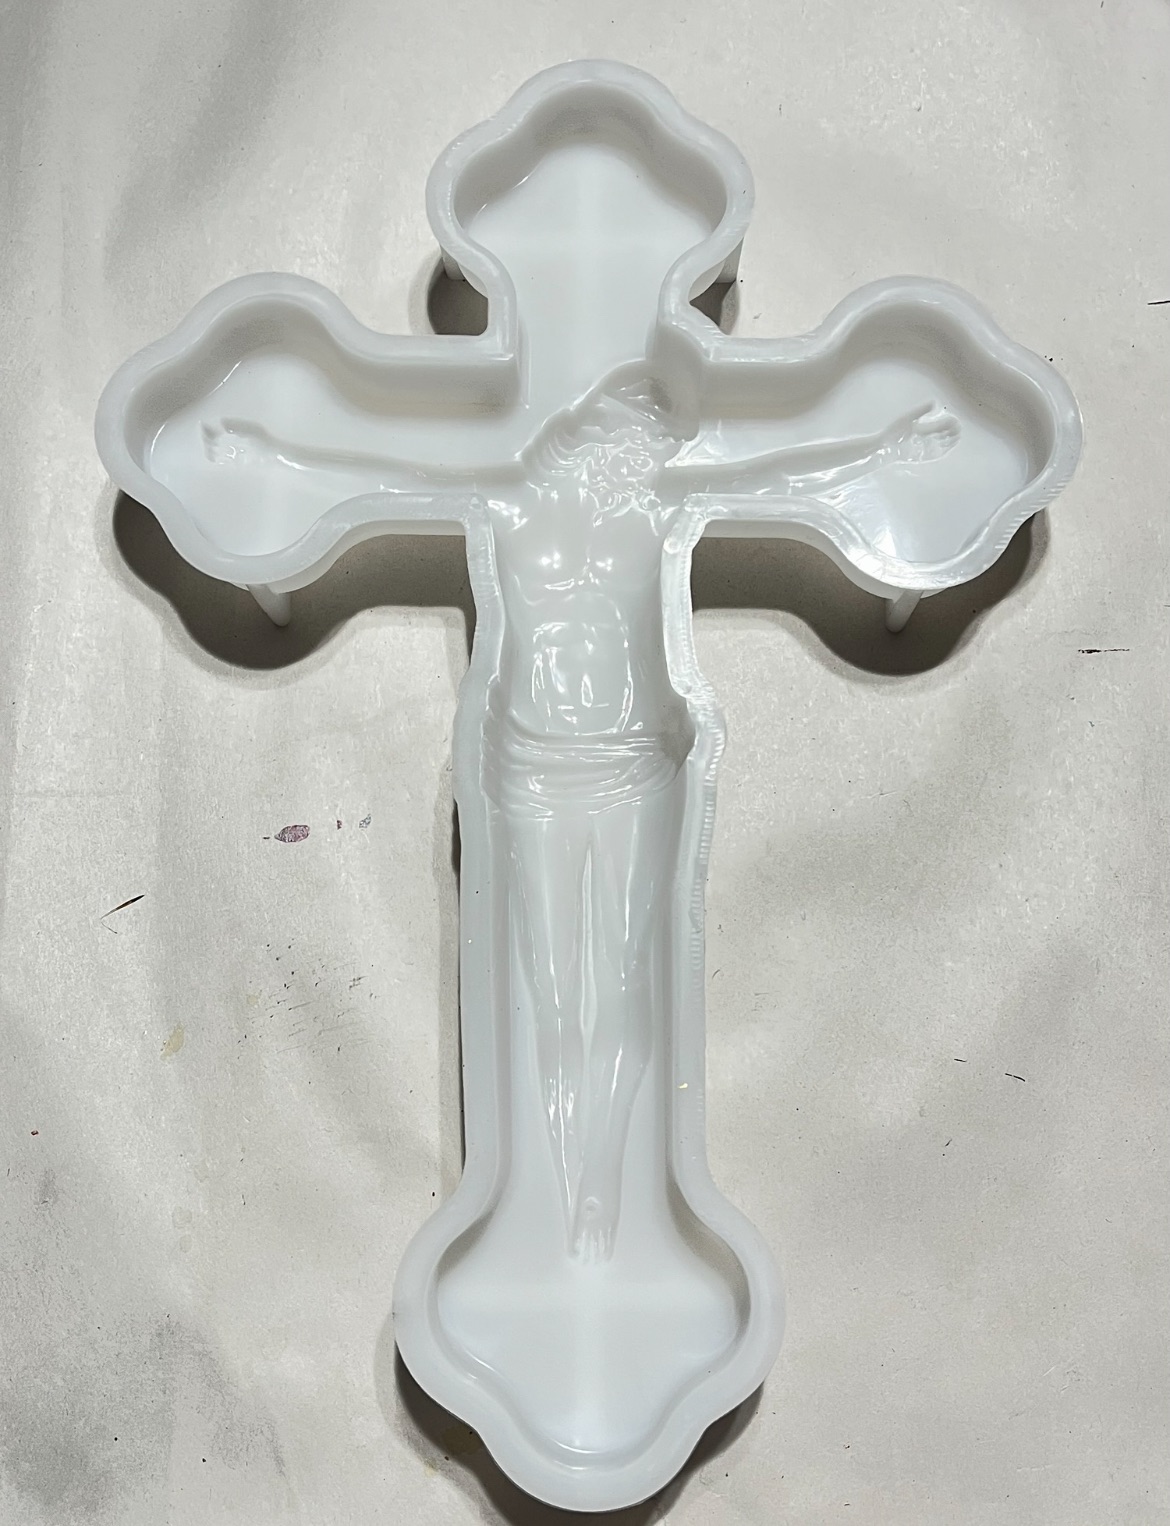
1. Crucifix Silicone Mold ( find the Amazon link in the button below)
2. Air Dry Clay

This Clay you can get it at Walmart

Make sure you clean the mold for any silicone residue.

Start by pressing clay into the mold and slowly start spreading it inside the mold, press firmly to catch all the fine details.

Make sure you fill in the entire mold by adding more clay, don’t worry as how patchy it will look at the end you will not see the back.

I made sure to press firmly and fill in every space.

Take a look and how even it looks, it looks patchy but it’s ok.

Now to take this piece out I was a bit impatient and took it out right away, BUT I WOULD SUGGEST TO LEAVE THE CLAY IN FOR 24 HRS AND THEN TAKE IT OUT AS IT MAY NOT HOLD ITS SHAPE ONCE ITS OUT THE MOLD BECAUSE OF THE MOISTURE.

Once you remove your piece from the mold you will see how beautiful it looks, now you can create more.

Take a moment to see how detailed this piece looks, now it’s time to paint it any way you want.
Once this piece is fully dried you can add a hole at the top of the cross if you decide to hang it or you can glue a hanger on the back as this piece is very light.

I simply used a Gold metallic spray paint from Walmart as this is the style I wanted. Stay tuned as to how I will display it.

I placed my cross on this faux stained glass window and framed it. Enjoy 😊
Please share this with friends and family and don’t forget to catch me Live on Facebook .


Leave a Reply