Ever wonder how you make these paper caps? I got you covered these are great for birthday invitations, Boy Scouts party invites and many more.
These are the main materials:
1.Paper from Paper studio or any type of paper
2. Scissors and glue
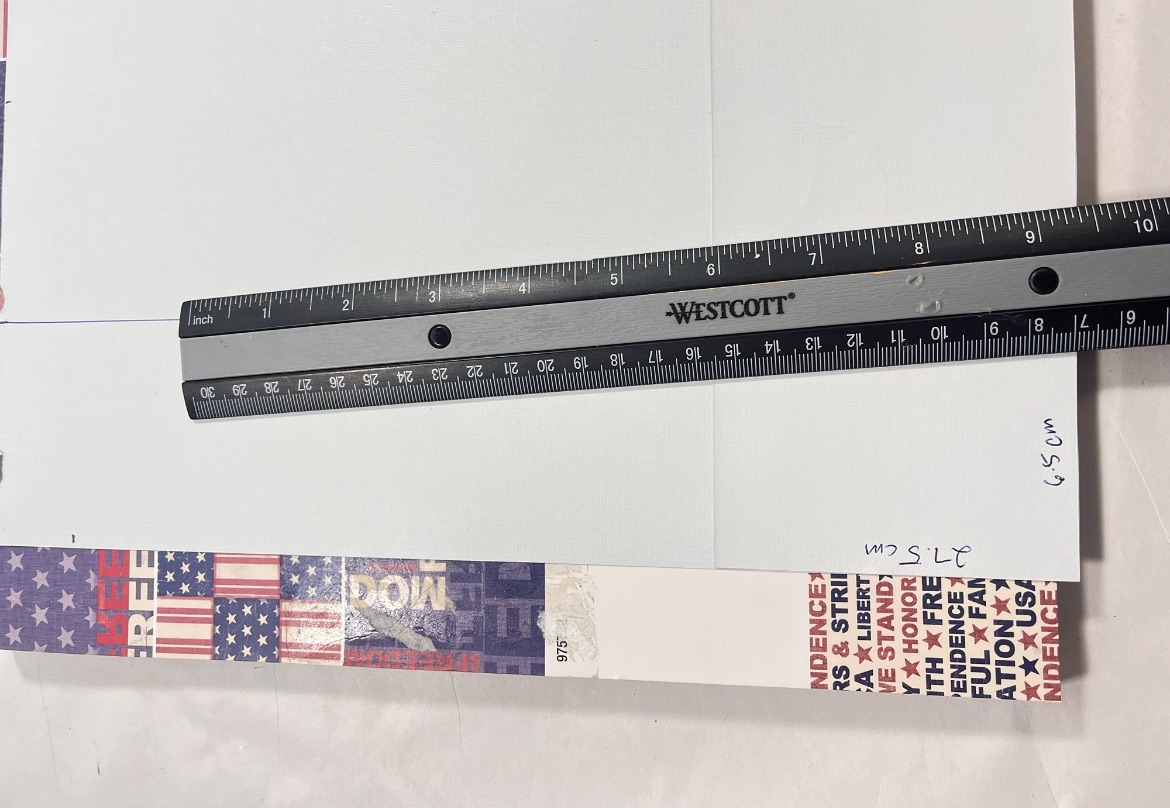
You will start by using a ruler to get these measurements see below.

Once you have it marked down cut out the strip of paper.

The strip of paper will be folded in half

The folds will be accordion style.

Once you have done this undo it and it will look like this.

Turn it around and you will mark the back side as you see below.


Cut out one of the square pieces as you will create the section to close the body of the hat.

Fold your strip according style once again leaving the cut part undone, using a pen you will draw a “petal” shape and cut.

Undo it and you will have this, make sure you have six points as you will cut one section.

Add a little glue to the section with the small flap and glue the piece together.


Once it’s closed then you will grab one by one of the points and glue them to form the top of the cap.


Once you have the cap part completed then you need to create the brim, I used leftover paper from other projects.

Turn it around as you will be making some marks. See below

Take a look how I created the pattern, this will allow you to glue the brim under the cap.

Turnover the brim part and make sure the extra triangles you drew are folded up as these will be glued under the cap.

Add a little bit of glue and attach

Now using something sharp you will make a hole on the top of the cap as you will thread some string to create the hanger.

Insert from the bottom up and make sure the hanger has a knot, add some glue to the knot and pull tight to attach the hanger.

Voila! You have now created a cap ornament. Enjoy and share with friends and family.


Leave a Reply