I have made so many wreaths that I had to make one using Angels, I found a clear all plastic angel from Walmart and I also found some smaller angels at Dollar Tree and I immediately knew what i was going to create.

Materials:
1.) Two 18in wire wreath forms (Dollar Tree)
2.)Round plastic plate (Dollar Tree)
3.) 7 Angels (you can have as many as you want)Plastic small angels (Dollar Tree)
4.) Large plastic angel (Walmart)
5.) Hot Glue, Wood burning tool,zip ties or gold pipe cleaners.
6.) 3 Fairy lights
7.) Medium size Christmas ball ornaments, 1 set of large ball ornaments
8.) Spray paint- Aqua, Metallic Gold, Brilliant Blue, Blossom White

Start by removing the lighting part from under the angels, I used some tweezers to help remove it on all of my angels.


I used the 18in wreath forms (2) because the angel fits perfect once placed over the plate.

Use the small wire that divides each section of the wire wreath to mark the holes you will be making with the wood burning tool, these will be where you will be inserting the zip ties or pipe cleaners.


Using the wood burning tool make all the holes around your plate.


Now its time to spray paint the angels and zip ties ( I didn’t use them as I found them difficult to work with instead I used pipe cleaners).
You can paint your angels any color Im using Blossom White.

Now I sprayed my plastic round plate with he Brilliant Blue as the base color, spray two coats.

Next you will spray the aqua color to create some dimension, I also sprayed two coats.

Now you will spray the wreath forms with the Metallic Gold.

Once all the pieces are dried then you will now attach the plastic plate using either the zip ties or pipe cleaners. (If you use the zip ties you will have to go back and paint them again.
I had to go and spray the rim blue once again.


Now the angels will need to be attached to the top wire wreath form, again I used the zip ties but I had to back and paint the zip tie gold using some metallic gold acrylic paint.
I would honestly use the gold tinsel pipe cleaners.


It’s time to put the wreathe together.

You will place the big angel over the place and mark were the zip tie and/or pip cleaner will be going through.

Using the wood burning tool and poke the holes.


Once the angel is attached in the position that you want it then start filling in the wreath, notice how I placed the bigger balls to start the pattern. After the big ornaments are in place then you will add the smaller ones.
***Quick tip place the top wreath part on and using zip ties/pipe cleaners attach it but DO NOT tighten up jus yet, as this will help you move the smaller ornaments in place with them falling off.
Start filling it in in sections and then one by one start tighten each section to secure everything.


Once you have everything in place and the wreath is secured then start putting in the lights all around the wreath weaving them in back to back.
Make sure you leave the light controllers on the back as they will be glued to one of the ball ornaments.

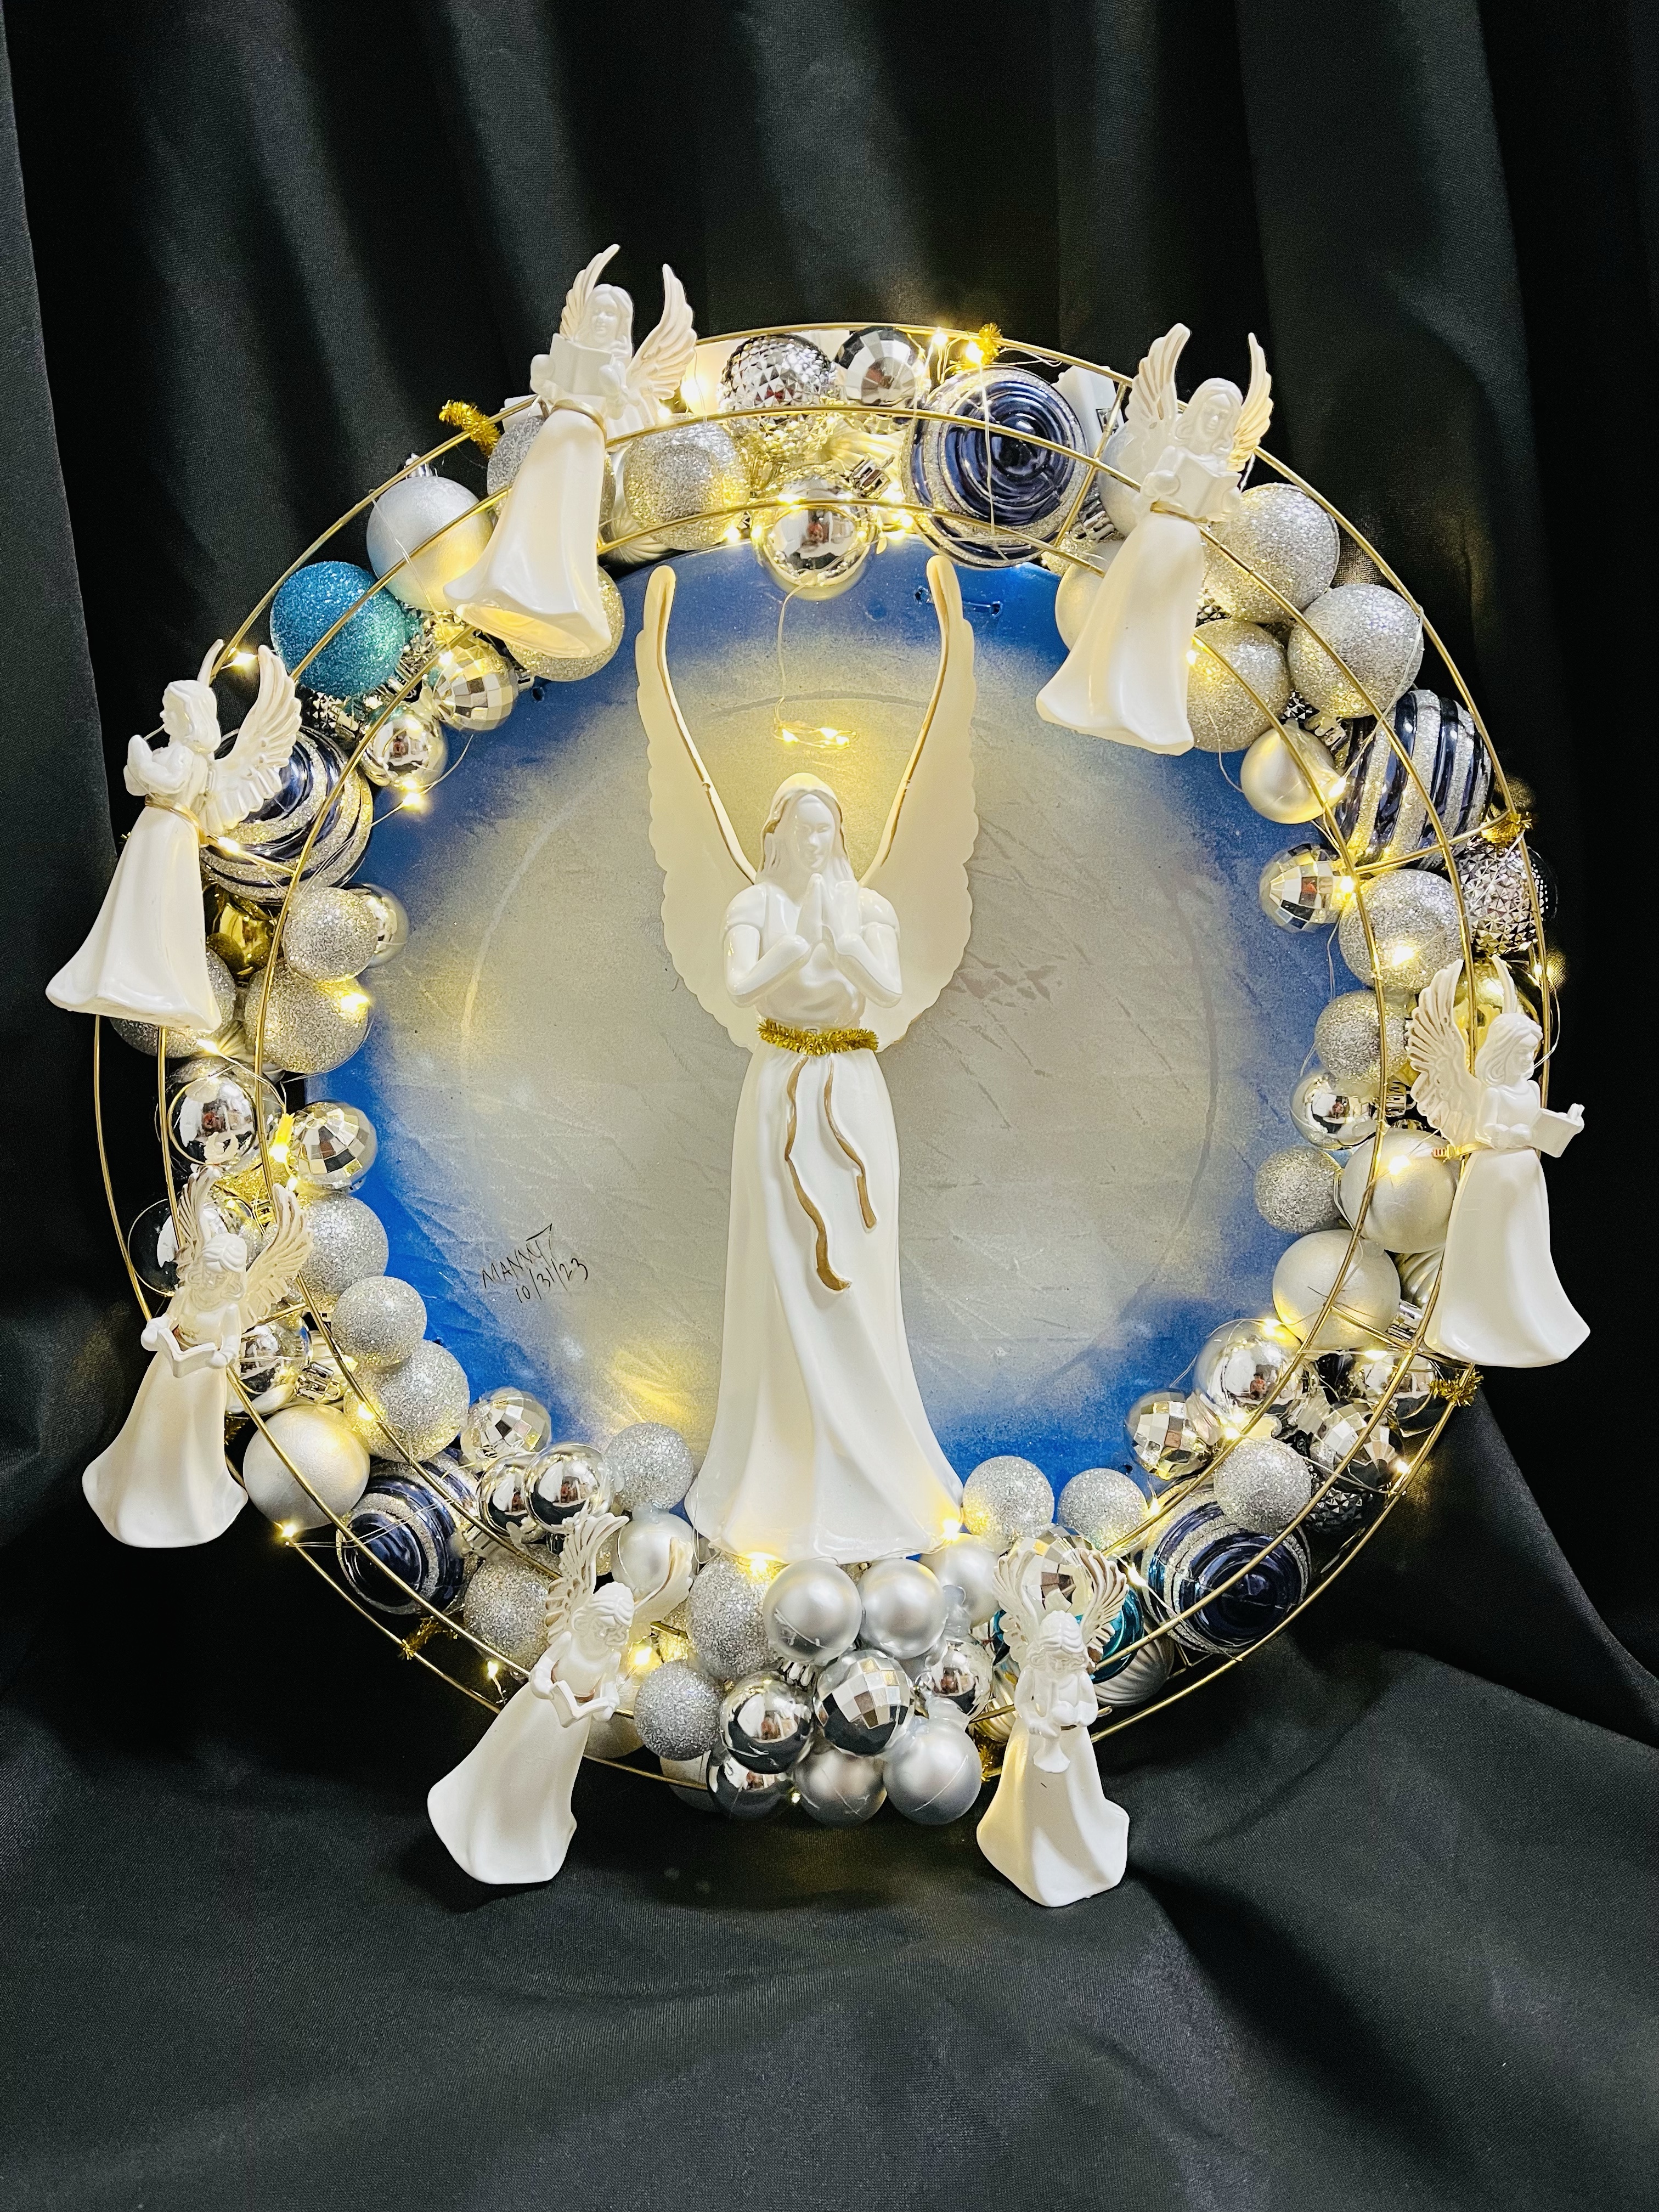
I also used an extra set of lights and tucked them in on the inside part of the wreath around the the extra balls and do you see that I was able to create a halo over the angels head with the end of the light set.
I had left over mini ball ornaments from last year, and I created a stand for the angel as you can see. They are simply just glued to each other .

The last thing I added was a hanger (using ribbon as you have seen on my previous wreaths).
Now its time to light them up! And Voila! A one of a kind Angel wreath its gorgeous I love it!


Leave a Reply