If you made my first ball Christmas ornament here is the second version of it, I love how this looks it reminds me of an elf, take a look how I created this.
Main Materials:
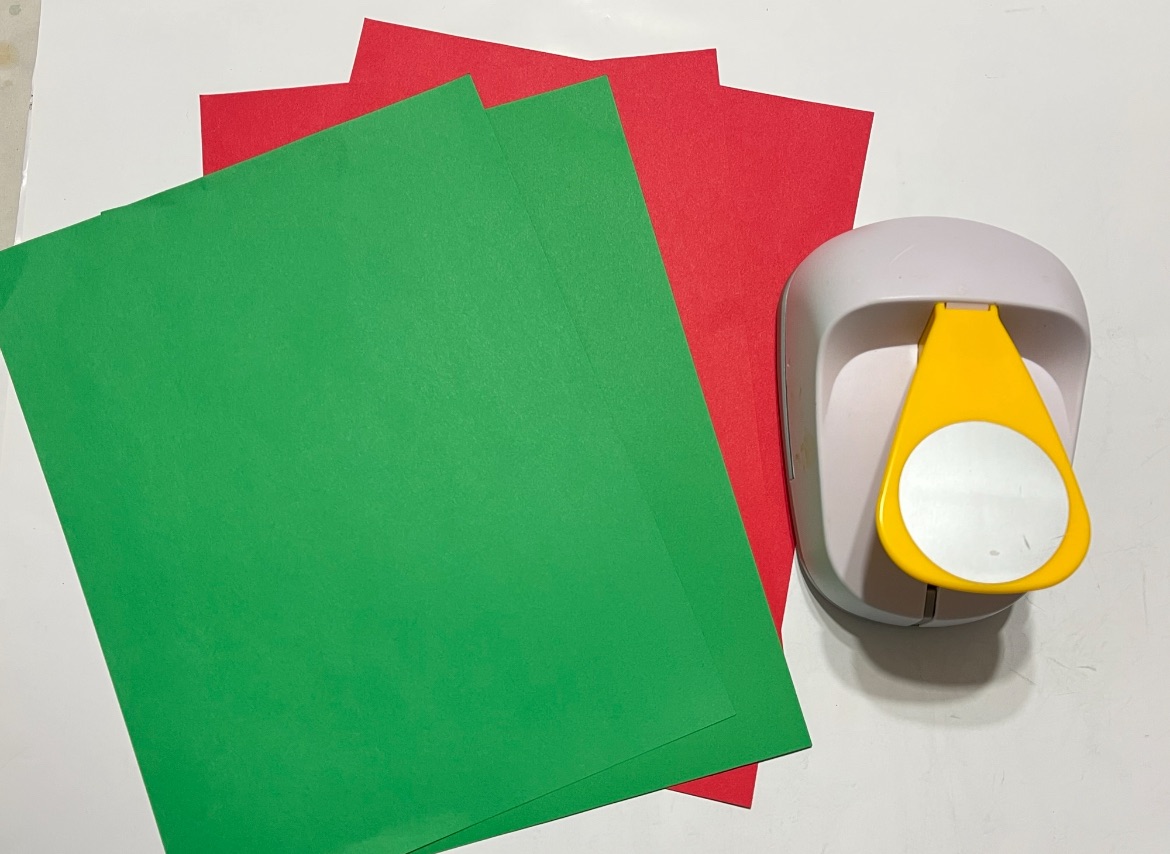
Green paper
Red Paper
Circle Paper Punch 3in

Start by punching out all the circles using the paper punch, you will have 12 green and 12 red.

Once you have all your pieces cut out start folding them in half you will have a total of 24 pieces.

Alternate both colors and glue them back to back.


Once you have finished gluing all your pieces this is how your finished piece will look-very similar to the original ornament.

Look carefully how you will glue each piece to create the mixed effect. I started by adding a line of glue on the top side of one of the green section, add glue and hold.

Now you will repeat the same step to the next section and apply glue to the bottom part of the red and hold.
You will repeat this step to the next sections which is green and apply glue top side and repeat on the next sections which is red until you finish.

By alternating each section and applying glue to the top and bottom of each section you will start to see how each color will be revealed.

Now to create the hanger grab some bakers twine or whatever ribbon cord you have and thread a small jingle bell, place the cord on the spine of the ornament and then simply apply glue to one side of the ornament following the top and bottom pattern to close your ornament.

Make sure each pieces is glued and start to separate the section to even out the ornament.

You can use any color you want to create your ornaments, share this with your friends and family and make sure you follow me on Facebook and catch my live shows.


Leave a Reply