Who said placemats are just for your dinner table, take look how I made this beautiful purse.
These are the materials I used, the main materials are
1.) Round Placemats 2 Red, 1 Blue

Align both red place mats and and start doing a basic stitch using a an elastic gold ribbon to secure both place mats, depending on how wide you want the opening you will know when to stop and secure.


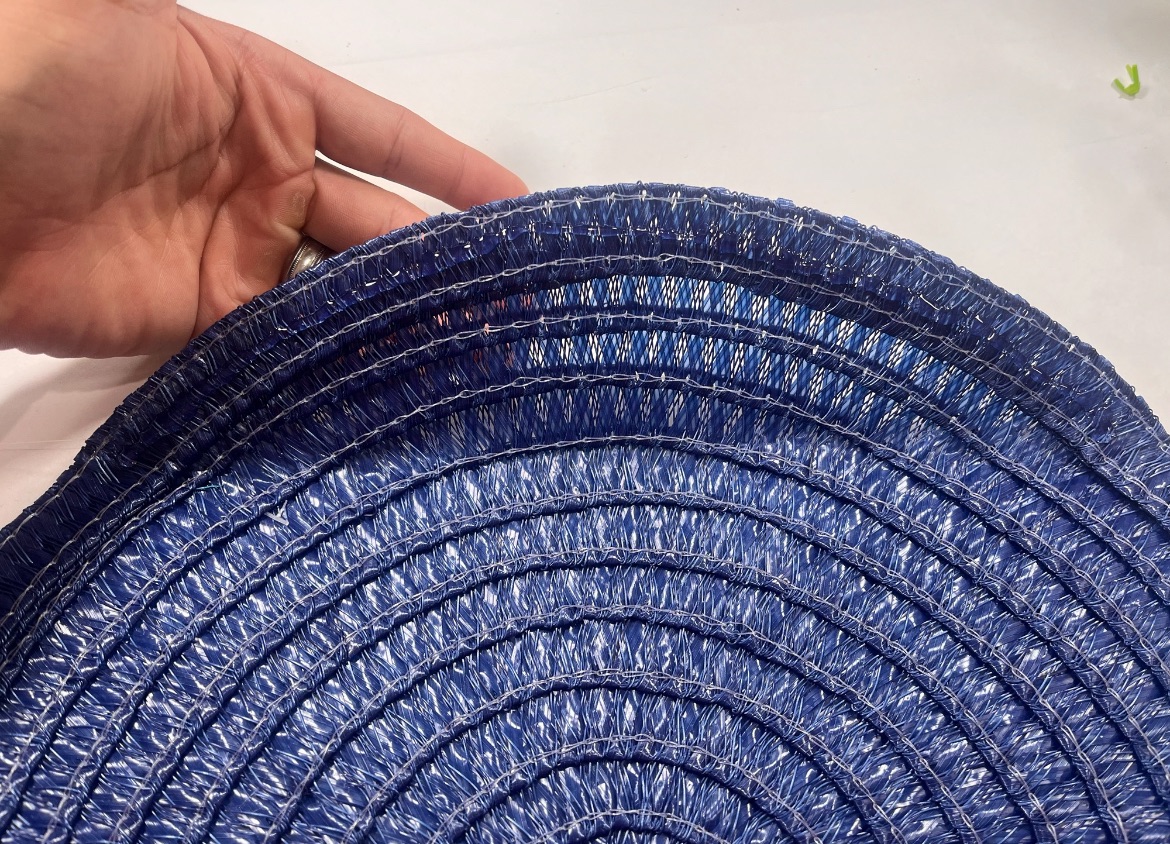
Once you have secured the stitches the next step is to insert the blue place mat, I added a bit of hot glue to secure the bottom side of the place mate so it’s glued on the inside.

Take a Quick Look at how i have marked this hot glue will have to be added to the sections marked in blue. Add hot glue to the center part of the mat and also around the half of circle as this flap will be glue over the red.


Once the blue flap is glued over the red mat the next step is to fold in the back side of the red mat also add some glue to secure from the inside.

Using small gold rights (used for jewerly and included on the materials picture-Michaels Store) with some wire snips slightly open up the ring and insert on either side of your purse to secure the top and bottom red mat. See below as you will repeat the same step to the other side.

To make this purse usable I also added a purse snap I purchased in Michaels on the inside of the purse, I glued with hot glue but also to reinforce the snaps I added B700 around the snap to secure.

This step will be different for everyone depending on how long you want the purse strap, I used a gold chain that also came from Michaels and tripled the fold to have three straps.

The chains will be attached to the gold rings on each side of the purse, once secured close the rings using the wire snips.

To resemble the stars on our American flag I decided to use rhinestones following the mat design, I used B700 to secure.

To create the white stripes I used painters tape to get the correct amount of stripes at the flag has 13 stripes. If you notice down below the blue tape i used to know where I would paint my white stripes.

I white chalk paint but you can also use white acrylic or enamel paint.

Once the stripes were done I finished it off using gold fringe to resemble the fringe on the flags. The fringe also came from Michaels, you can also use different fringe depending on your style, .
Note: You don’t even have to use fringe you can leave it as is depending on your style.

To add a star symbol I simply added a star/flower shaped brooche on the center part of the purse.

This is the back side of the purse as it has a very clean look.

If you reached this step then you have created a beautiful one of a kind Americana purse. Enjoy and share with friends and family.

Americana Pocket

To make the pocket you can repeat the same steps to create it, the only difference is the handles are created by cutting apart a coat hanger bend them into a holder thread wooden beads and spray paint them gold.
Once you have the handles created simply glue them on the inside of the pocket with hot glue and place a piece of ribbon over the ends to secure.
Add some greenery and flowers and you will have a unique americana pocket holder.

Leave a Reply