I’ve always wanted to make a crystal chandelier and I finally created one using dollar tree bowls.
These are the main materials you will need:
1.) Dollar Tree bowl
2.)Decorative Cake Tray-Dollar Tree
3.) Crystals ( see below button for Amazon link).

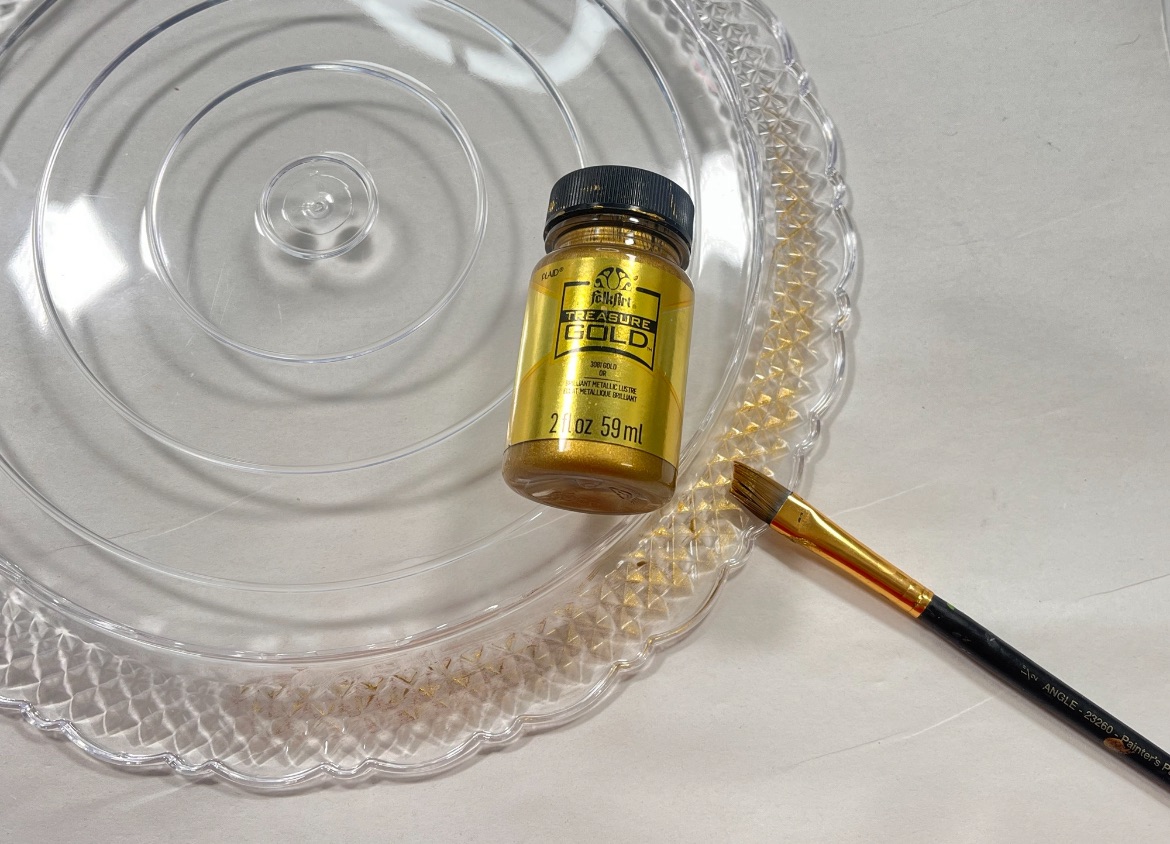
Start by using gold Metallic paint to paint the decorative part of the cake plate. You may have to give it 2-3 coats to get the strong metallic color.
**Remember that at any point you can substitute any materials to what you have available or what ever works for you.
See below for Amazon Gold Paint link button.

Next on the inside of the bowl apply mod pod podge and apply heavy coats as it will hold the diamond dust.

Once you have applied the mod podge pour a generous amount of Diamond dust on the inside-the diamond dust is what will create the frosted glass effect
See below for Amazon Diamond dust link button.


You will repeat the same step to the top side of the plate, see below.

Take a look below as this is exactly what I used for hardware: bead landing-gold chain, small clip rings, needle nose pliers.

To create the small hole to attach the chains you will need a wood burning tool. I did 5 holes in total and eyeballed how far apart they would be.
See below for Amazon Wood burning tool link button

Using the needle nose pliers open out the clips and attach to each hole. Close the clip back by using the pliers. Jump Rings link Amazon Link below.

Once you have attached all the rings cut 5 strips of the chain in the desire length you want, and attach to the rings by opening up one of the links on the chain.
Everyone’s lengths will be different, what ever works for you.
See below for Amazon chain link button.

Using one more ring open up and gather all your loose chains and close ring using the pliers.

Next you will start attaching the crystals around the border of the plate, I used the wood burning tool to create the holes. Also take a look how wide apart I created the holes I skipped one section in between.
See below for Amazon link button for crystals.

The small wire rings on the crystal chain can be pulled so you can insert them through the holes and simply press them back to place.

Once all you crystals are in place you will need two strands of fairy LED lights. Take a look below I painted the battery pack to match the border of the plate as they will be glued on the plate border.
Grab one of the fairy light strands and fold them twice to shortened and twist and secure. Now glue them on the top side of the plate all around.
See below for Amazon Fairy lights link button.


Once you have glued the lights around the tops side of the plate you will grab the second strand of lights untangle them and place them over the plate as this will serve as the lighting inside the bowl
Now place bowl over the plate and glue all around. See below.

After you glue the bowl down then simply glue the two battery pack on top of the border. Once you flip over the chandelier these will both be visible.

Flip the chandelier over and get ready to hang it, these can be used for outside or you can add an extend chain and hand them from your ceiling by adding an extended chain.

Congratulations! You have now created a one of a kind crystal chandelier, enjoy and share with friends and family.


Leave a Reply