It is mind blowing what you can create when you put your mind to it, Jason came up with the idea of creating a pocket holder using two round placemats.

Materials:
1.) 2 Round placemats .
2.) Hot glue
3.)Twine
4.) Yarn needle
5.) Scissors

Let’s begin and pay attention it can get confusing on the folds. Fold the placemat in half horizontally and fold over the left side towards the middle ( you will repeat the same step to the other side, make sure you do it one by one)

Now you can use hot glue to secure the folds or you can also use the twine, I used both. You will sew one the flaps you create when you make your fold **(Do not sew all the way through the back of the place mat,see below).

You will only secure the fold you created, if you sew all the way through the place mat you will not be able to create the pocket.

Repeat the same step to the other side think of it as creating an “envelope”.

Now insert one of the sides into the small pocket you created as you can see below, apply some hot glue to secure it. This will be the top pocket as its a bit wider.

Place mat #2– Now, grab the second placemat and fold it in half vertically and decide how wide you want the second pocket to look.

Once you have decided how wide you want the second pocket then apply some glue on the inside behind the overlapped ends of the placemat this time you will glue right on the bottom side of the place mat ( it is basically right in the middle.) This will create the second pocket and the third small pocket.

Or, you can sew the folded flaps with the twine or do both glue and sew.


Once you have gotten to this step then grab the bottom part of the place mat and fold upward to create the third and last pocket, glue and hold.


If you want to reinforce the bottom fold after you apply glue then you can grab the twine and sew the bottom to prevent from unfolding.

Now you will grab the first pocket and apply glue over the overlapped flaps because you will be gluing the second pocket right over it. Be generous with the glue and hold ( I actually placed an iron over it and pressed down)..


This is how the back side looks like.

If you want a small hanger then grab some twine and create a hanger for it.


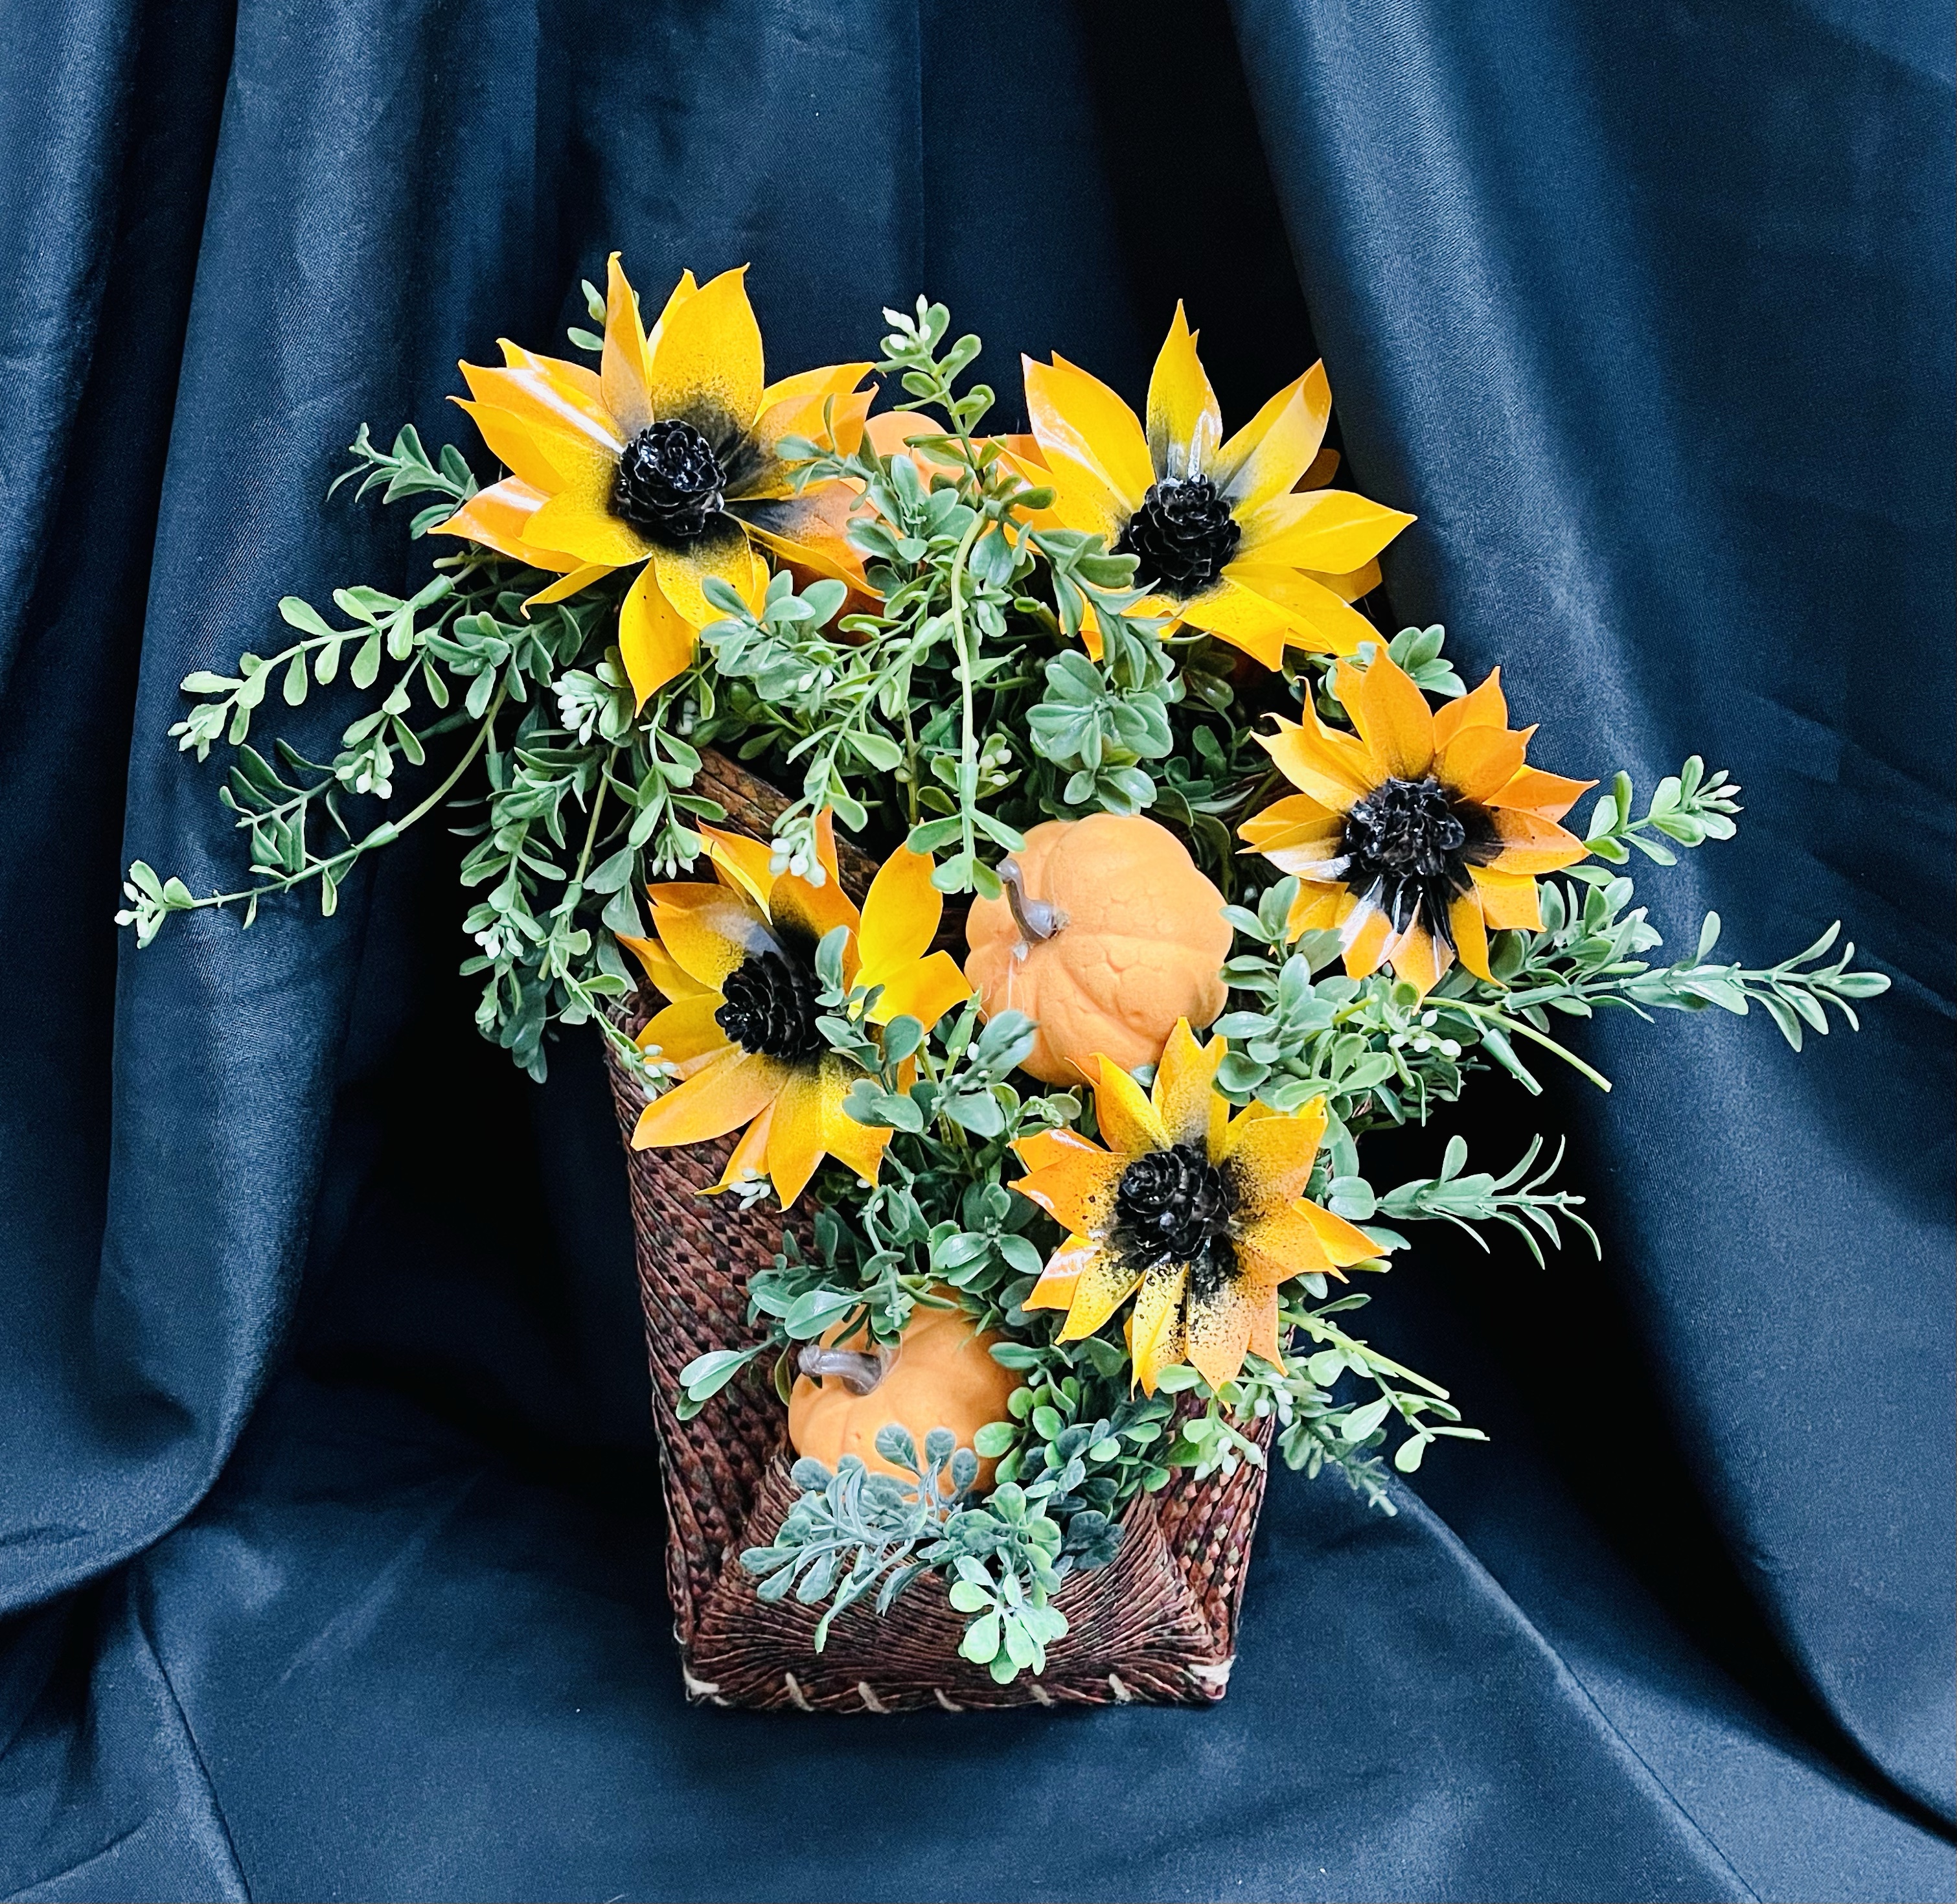
Now its time to decorate it I just used some left over greenery I had and stuffed all three pockets. I made some of my popular sunflowers and added some pumpkins.

Remember that you can used whatever you have available and do not glue the greenery so that you can change it for holidays, as well as flowers and pumpkins.


Leave a Reply