During Fall season I found the Dollar Tree Pumpkin garlands and I got inspired to created a unique Pumpkin Wreath using some basic items.

I also created a topiary using the same Pumpkin garland.
🎃 For the topiary the process is the same and you will be using a medium size styrofoam ball, paint it orange and glue the pumpkins one by one.

Materials:
1.) 3 Pumpkin Garlands
2.)Pool noodle
3.)A wire coat hanger
4.)Gorilla Masking tape
5.)Leftover greenery
6.) Glue gun

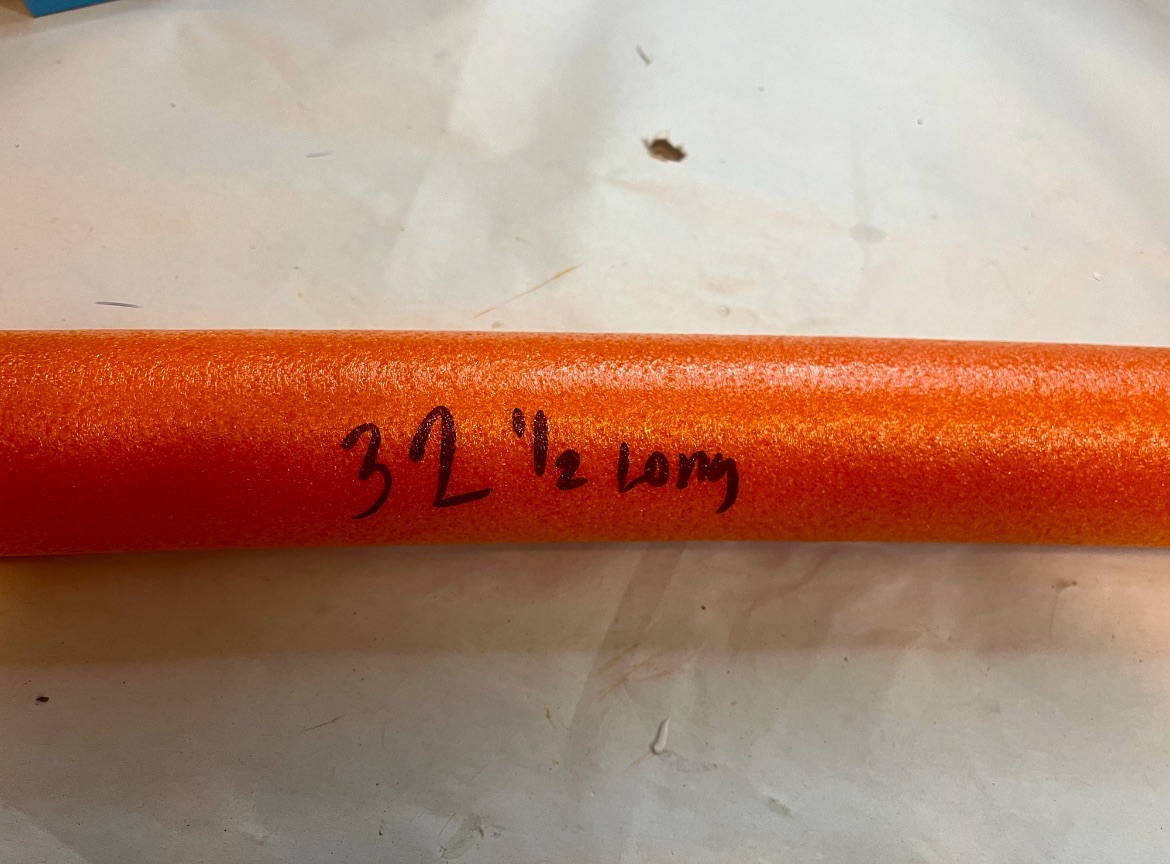
The pool noodle I used measures 32.5in( i had to cut it to size, you can create the wreath as big or small as you want).

Undo the wire coat hanger very carefully and insert it through the pool opening.

Carefully tape both ends with the masking tape to secure it.

Start by cutting all the pumpkins off the garland and get them ready.

Make sure you cut the twine carefully to not damage the pumpkin stem.

This step is optional glue ribbon to create a hanger before gluing the pumpkins.

Start gluing the pumpkins on the front of the pool noodle all around.

Once the front side is completed move on the top side and repeat.

While gluing them make sure they a bit aligned to avoid small gaps.

Repeat the same steps on the inside part of the noodle by gluing the pumpkins.

This is how your wreath should look like if done correctly.

I used leftover greenery to fill in some gaps.

Lastly add lights to the wreath-this is an optional step.

A one of a kind wreath!


This is perfect for Fall season!

🎃🎃🎃🎃You can also create the same look using the smaller velvet Teal/Blue pumpkin clips also from Dollar Tree. Same process as the above instructions.

Here is an orange version ! There are also Velvet Orange pumpkins at dollar tree.

Another version would be a Breast cancer Awareness wreath using the Pink velvet pumpkins.


Leave a Reply