Have you ever tried using lunch paper bags for any DIY craft? Well this one is a good one, let’s make Snowflakes!
Main materials:
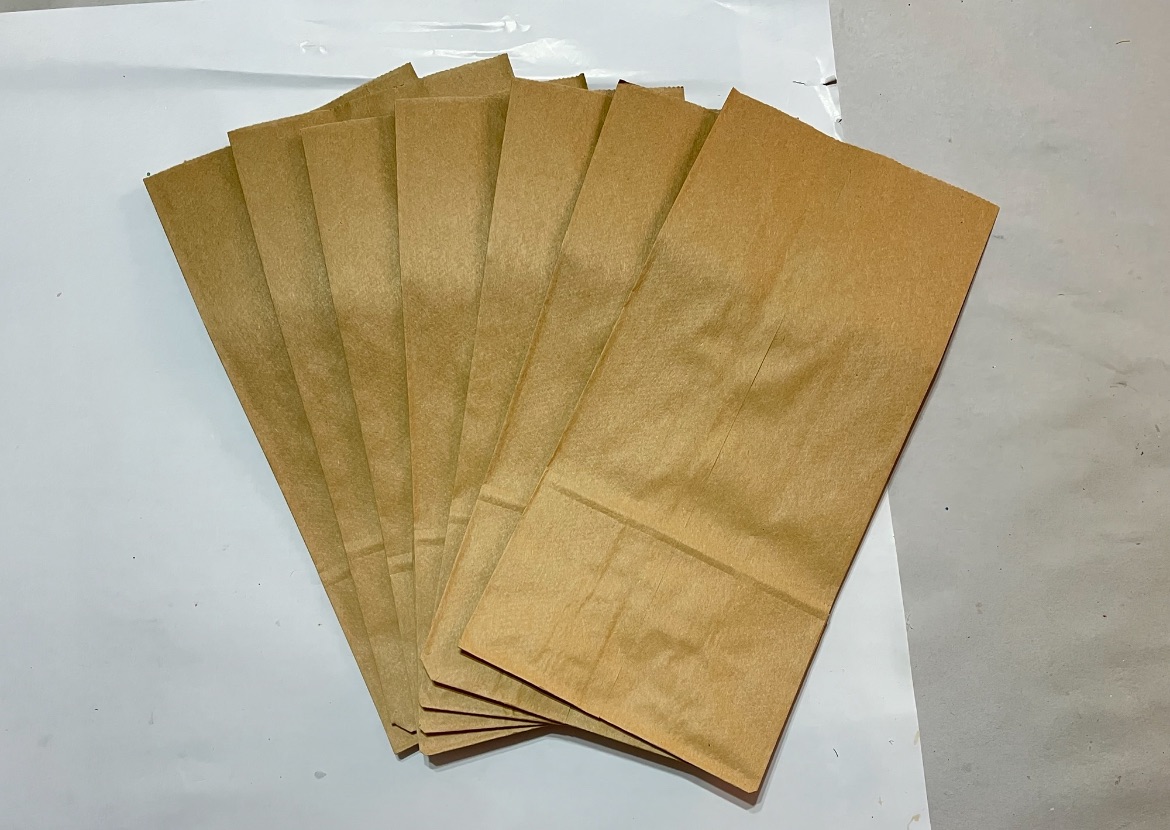
Paper Bags

You will need 7paper bags to create the snowflake .

I drew a T in my paper bag to show you where you would apply the glue, you can use Elmer’s glue or hot glue.
Also notice how the bag is facing up with the lip part up.

You will continue to apply the glue using the T technique and make sure all of your paper bags are aligned as you glue them down.

This is the last paper bag and now we are ready to cut.

I simple used this design for my paper snowflake but instead of a round el pattern you can easily create a strain gel for a pointy snowflake/star.

Grab all your bags tightly and cut.

Before closing the snowflake add a piece of string so that you will be able to hang it, measure to your desired length, cut and glue.


Also notice how I have a paper clip next to my piece you will need a few to secure your snowflake as you close It together.

Once you have brought your snowflake together secure it using the paper clip to prevent from opening up. This will allow you to undo it and put it away.

Now simply just open it up and fix imperfections.

For a galvanized effect I would suggest to spray paint gold,copper or silver.

I hope you give this a try and share with friends and family and make sure to catch me live on Facebook.


Leave a Reply