While cleaning out my Halloween stash I stumbled upon my Halloween plaques and I found one of a haunted house and i immediately knew what I wanted to create, a church!

Materials:
1.) One haunted house-Dollar Tree or order from Amazon
2.)Cashew waverly chalk paint, Walnut Stain
3.)Wooden beads, Jumbo popsicle sticks
4.)Exacto knife, scissors
5.) Hot glue
6.) Fairy lights, bubble wrap

Let’s get started if you are using this specific haunted house you are going to start by cutting off the tower peaks on each side.
You may be using a different haunted house design, the most important part is to make the house look like a church.

Next grab the popsicle sticks and measure how big you will want the doors. You will use two popsicle sticks .
** NOTE the measurements for all these cuts are eyeballed I did not measure anything. All off my cuts were done as i created the project, don’t stress and have fun.

Once the doors are glued to the front then start by creating the window frames, as you can see I used the scraps. Carefully use the exacto knife to score the cut and simply snap it off.
The exacto knif is very sharp be careful.

As you can see my sticks are different sizes I didn’t stress on making sure they were even as they will be covered.
Start gluing the small stick in a cross form on the bottom side of the plaque behind the windows.
If you want to skip this step because of the small cutting then I suggest you use tooth picks instead.

Once all the window are ready then you can use bubble wrap(optional) and simply cut to size and glue behind the windows for a frosted effect.

Now, this part may seem tricky and frustrating but its quite simple. You will use the sticks and start by measuring the frame of the house and simple cut the pieces to size and glue around the frame.

It is basically like putting a puzzle together, as you can see I simply cut my popsicle stick in half and then measured the sides, corners.


Using the scraps of my cuts I also created my cross that I glued to the very top of the haunted house.

Smaller pieces to create the handles.
**Don’t forget to also use smaller pieces to glue under the window for a more detailed look.

Now like I’ve taught you before in previous projects the smaller round beads are used to support the fairy light wiring process and the larger round beads will be used to glue down the piece to whichever surface you are using.
**I only used one light strand, you can use two if desired.

Once the lights are in place then turn over the church and start painting, you don’t have to use the same colors.
I used the cashew color for the inside of the church and for the frame and doors I used the walnut stain.

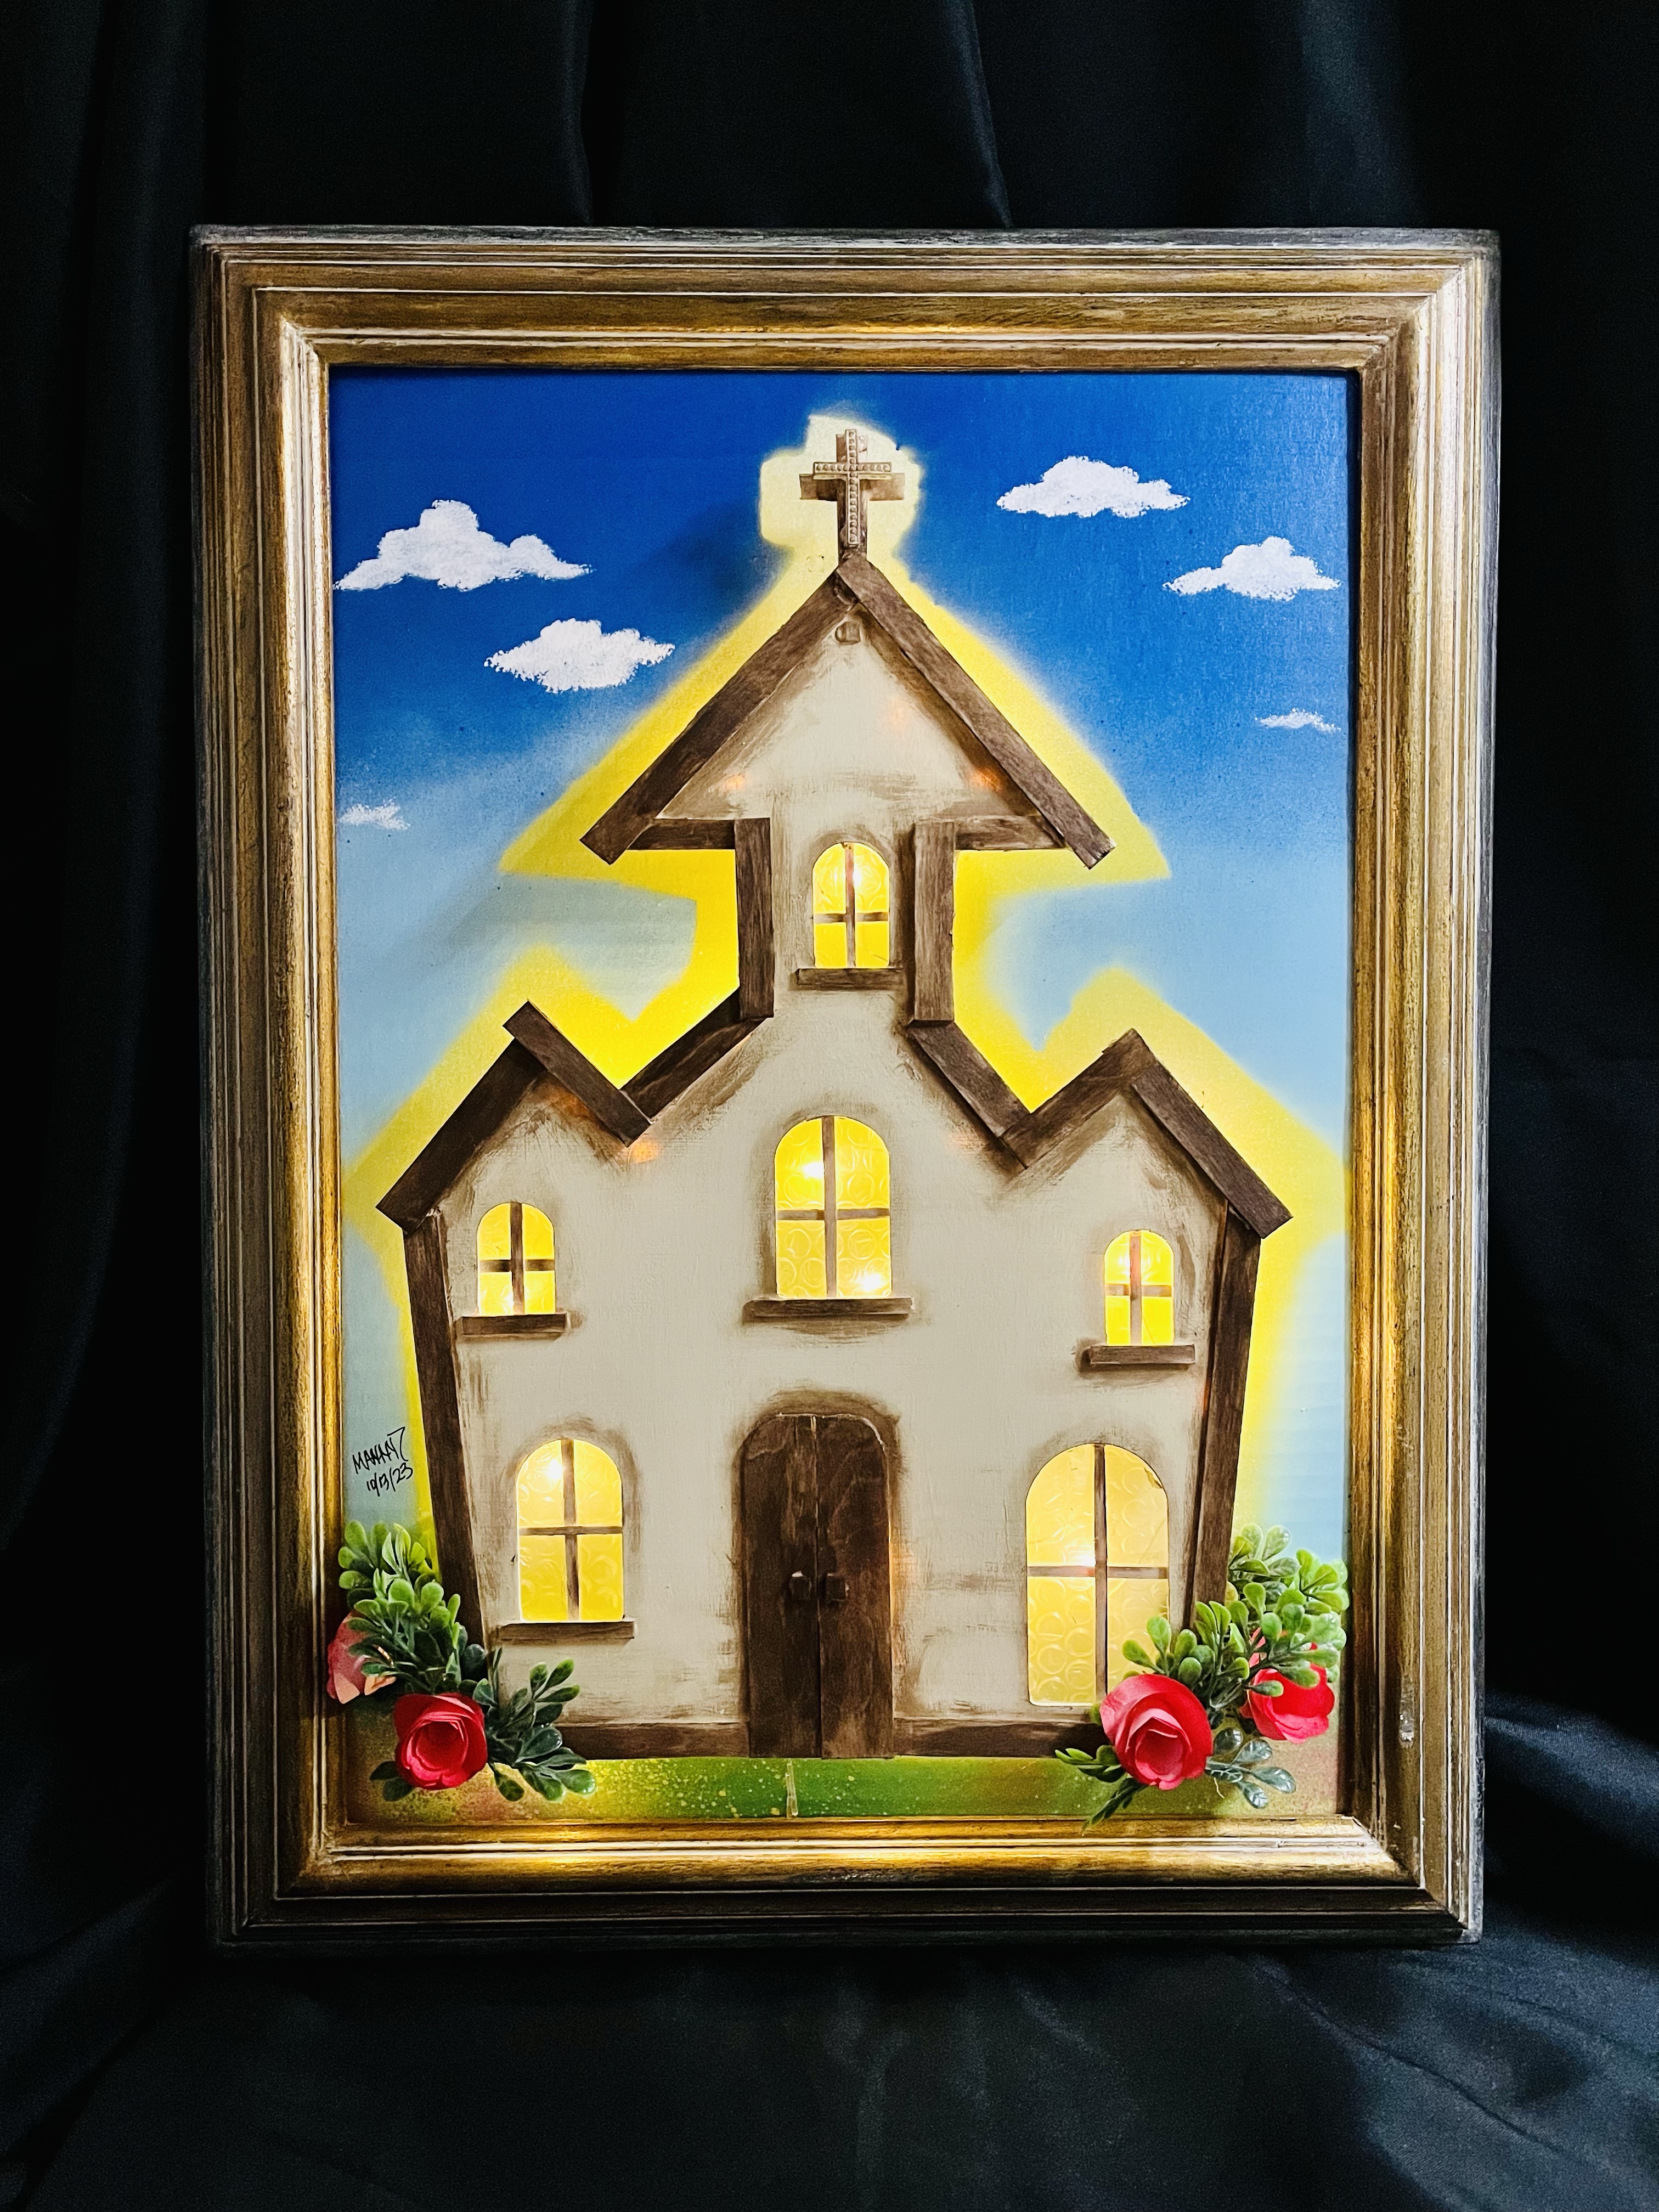
Once you have completed the church you can use a 16×20 canvas or a thick piece of cardboard to place the church. I spray painted the back ground, added a couple of clouds and added small spiral Rossettes ( I also have a blog for the spiral roses). Frame it if desired and glue the light pack on the back of the canvas.
Now its time to light it up! Voila! You have now created a one of a kind of a kind piece of art, you’ve turned a haunted house into a church.


Leave a Reply