If you see some of the tinsled trees at a the Dollar tree grab them because you will want to try this creative idea.

Materials:
1.) Two Christmas trees forms from Dollar Tree
2.)Jumbo popsicle sticks (I would get two bags just in case.)
3.)Twine
4.) Hot Glue/Glue Gun
5.) Scissors, exacto knife
6.) Stain or paint
7.) Fairy lights (optional)

Start by removing the tinsel from the tree from and any other little plastic bumps you want to make sure you have flat surfaces when gluing the popsicle sticks.


Once you have removed everything then start by cutting the popsicles sticks in half.
**Note I didn’t measure my sticks I went along and adjusted the cuts as I glued them down. You will repeat this process to the other half as they will be put together.

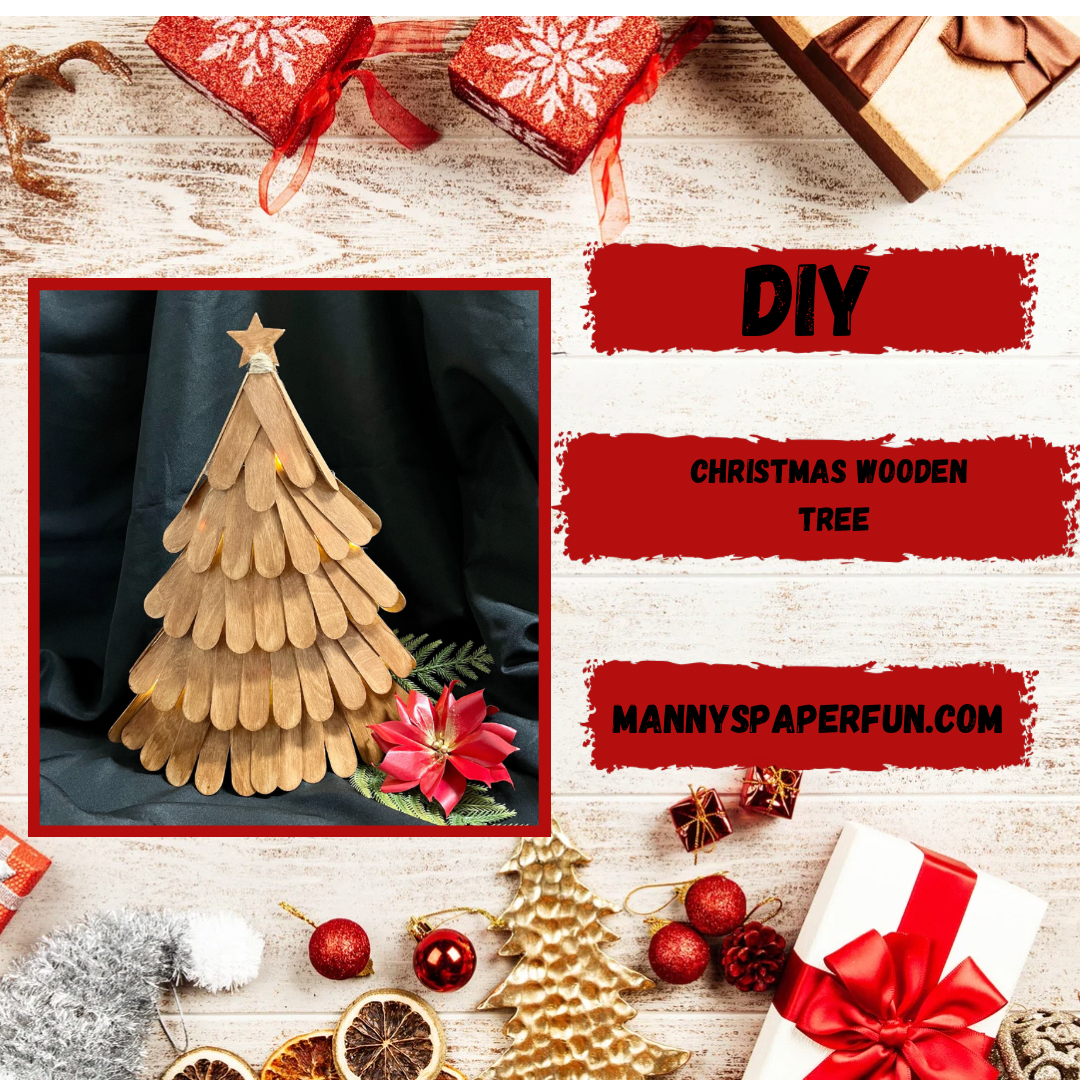
The popsicle sticks will be glued to the frame as there are 4 layers, for an easy process just take a look at the finished pieces to see how many i have for each layer.


Notice how on the last layer I took one of my halves and made this simple cut glue it down first.

Once you have glue the center part then check the other two pieces that are glue over it as they are both cut at an angle to form the point.

You will remove the tree stand as it is flimsy .

Now pay attention as this is a tricky step, you will glue one end of the twine (make sure you have plenty of twine) from the bottom layer as you will be wrapping both halves together.
Once both trees are aligned then grab that strand and start wrapping the first layer, make sure its tight and without cutting the twine simply move to the second layer repeat and move on to the third and cut and secure.

This is how your wrapping will look like for each layer.

****** If you decide to add fairy lights you will wrap them the same way as the twine and simply place the light pack inside the tree under the tree frame.

Once the tree is secure then simply use a bit of twine to tie the top part.

If you run into this problem where you have s mall gaps you can simply cut smaller pieces to fill them in.

You may have noticed some pictures you see some parts stained and some parts are not, I had one half completed first but this is the stain color I used for this piece.
** You can use any color stain or different paint.


Leave a Reply