
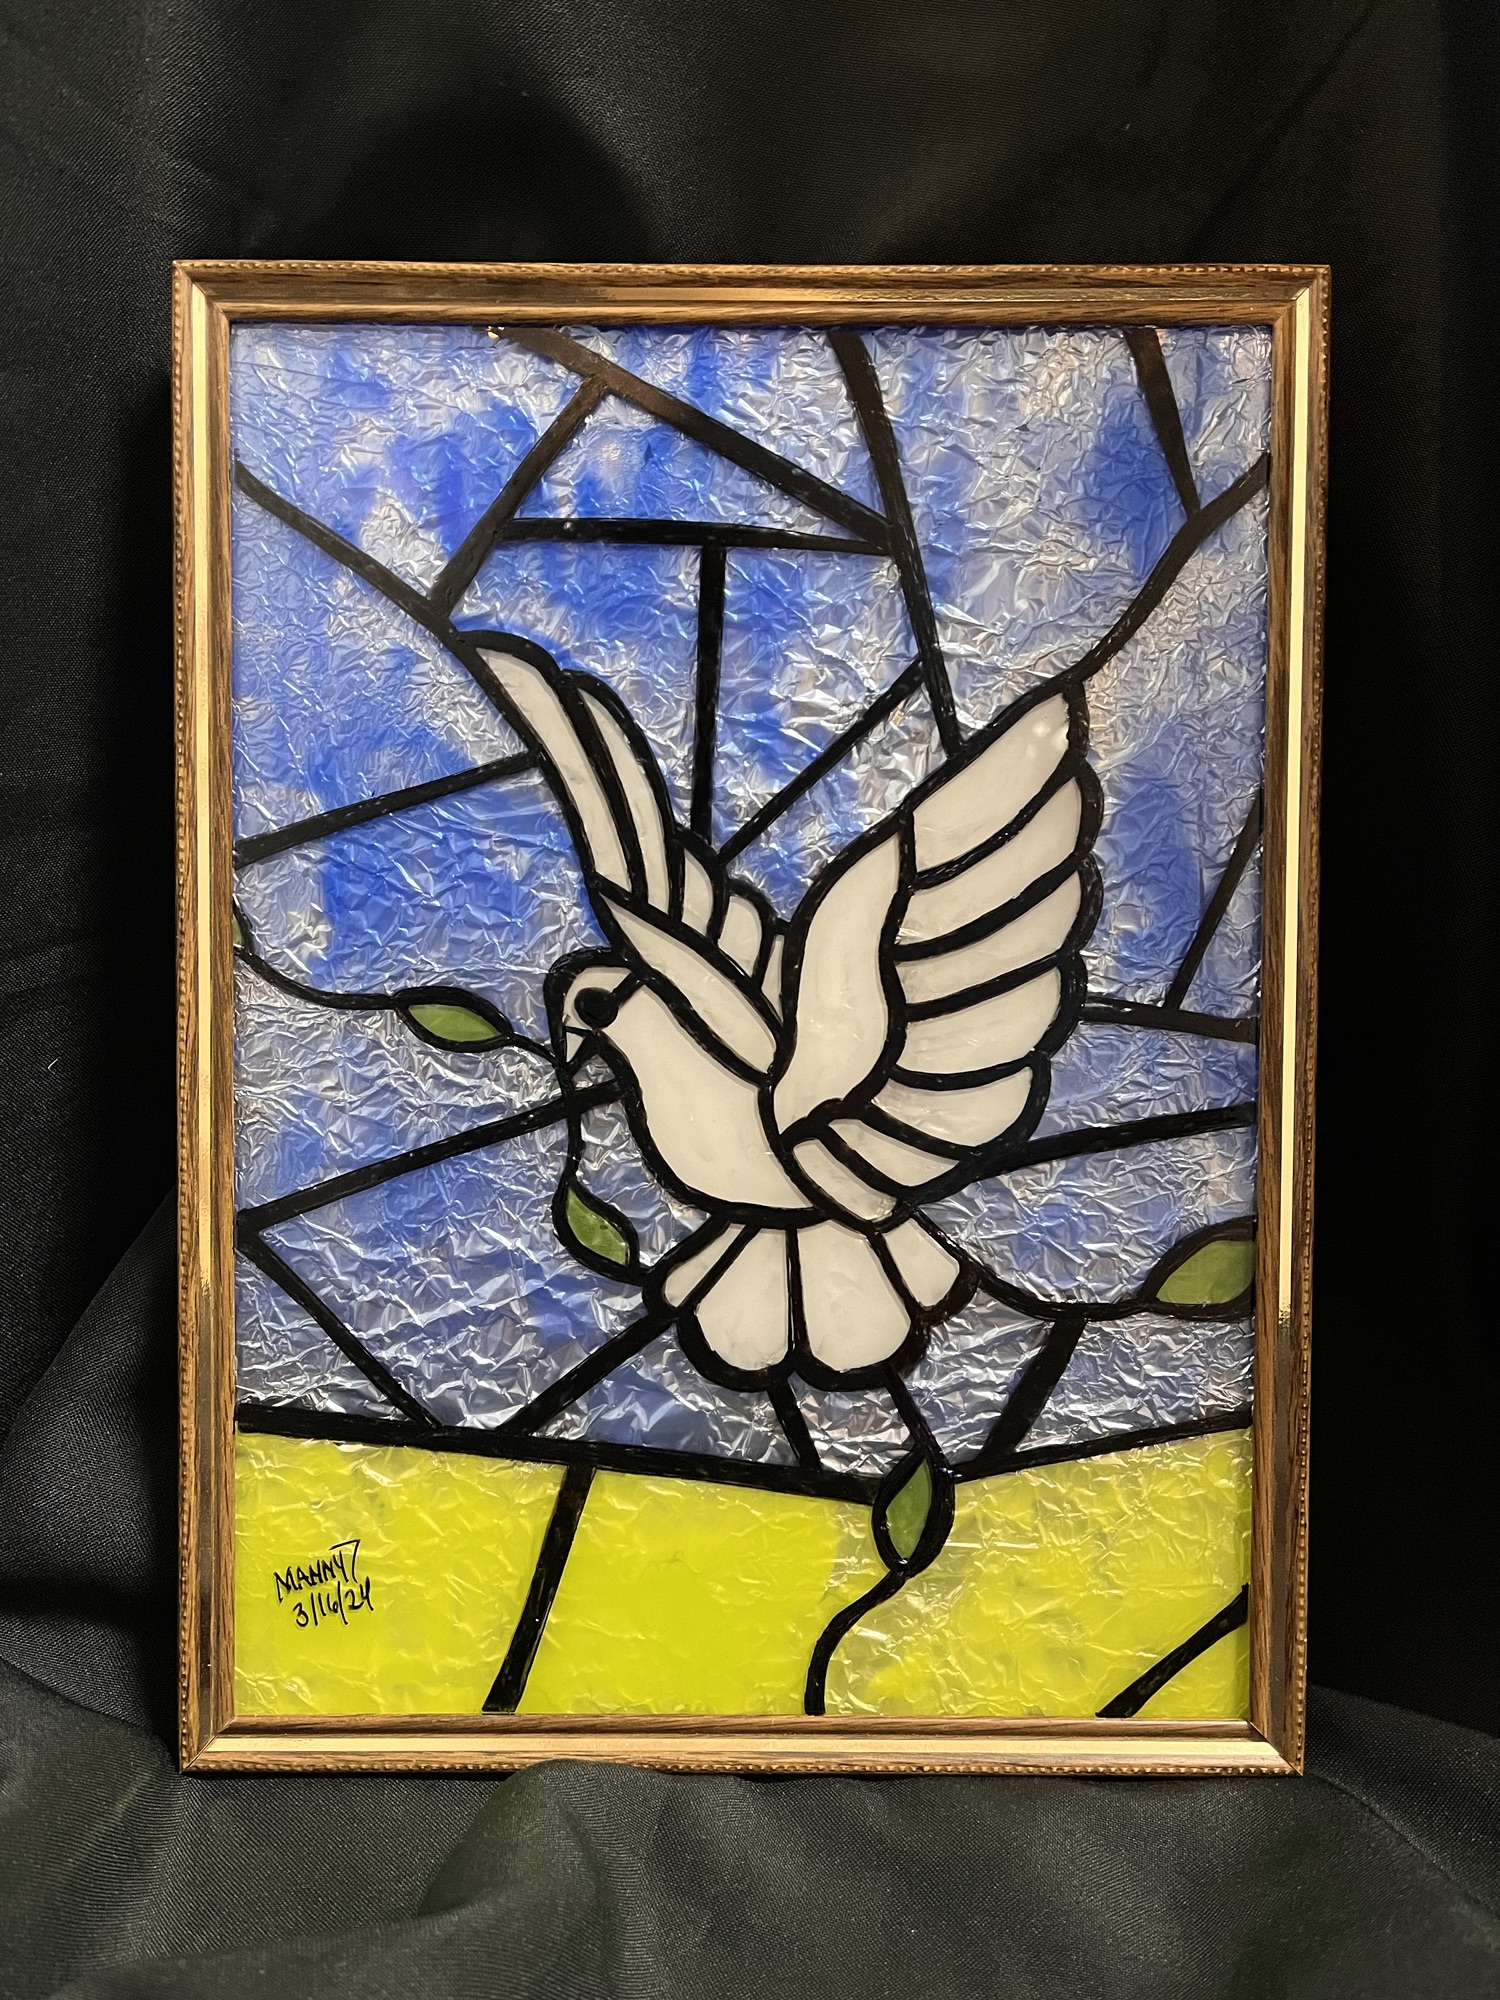
I learned a new technique form another artist and I had to make my own version of it. If you love the stain glass look this is an easy way to create your own. Take a peek at how it’s done.

Materials:
1.) Any size frame with glass
2.) Any acrylic paint you choose
3.) Clear glue
4.) Foil
5.)Permanent black marker
6.) Any print you choose (I chose a dove and just printed from google)

I forgot to put the foil on the material picture but the foil is the deal breaker for this project.

Print any picture you chose I simply just printed one with a dove .
*** make sure you center it and place over the glass -don’t forget to clean both sides.

Using the permanent marker trace over the black lines of the design.

Once you trace your print then you can just use a ruler and add more shapes to create a pattern-basically a shattered glass effect.

When pouring paint the make sure you use less paint and more glue, the clear glue will make the paint translucent once applied to the glass.

Notice how I added more glue than paint.

Now start applying to the glass depending on your design, I chose blue for the sky and notice how transparent it looks. Lightly brush it on the glass, the glue will expand a the strokes will blend in.

Don’t worry about how messy it looks.

The next color I used green for the grass.

Then continue with the rest of the design and the glue will start to dry.

Once it’s completed then let dry or use a heat gun to speed the process, do not apply heat right over paint it will bubble.

Now grab foil to cover the backing of the frame make sure you crumple the foil to create texture.

Place the foil over the backing of the frame and if you want to use tape to secure go for it.
** Once the backing goes over the design the translucent paint will show the foil pattern and create the illusion of “stained glass’’.

Now turn the design over and you will have to go over the black lines once again and make them a bit thicker and then it will start looking like stain glass.

Notice how even the glue has dried I still went over the dried glue and added more lines to make more “stain glass” pieces.

Then simply frame it and enjoy. Take a look at the below pictures of other designs I created.
If you enjoyed this step by step share to your friends and family. Thank you.


Leave a Reply